-----

Let's get started! First, use your doll for scale and draw a long, curved oval.

Add three curved lines from the top side to the approximate middle.

Draw another curved line connecting the end of your previous line to the top line.

Repeat the previous three steps for another baguette.

Next, let's make the cupcakes! Start by drawing a short, straight line with two other lines extending off of it.

Now draw a sideways "C" on top.

For lack of better terminology, draw a cupcake frosting shape on top of that. ;)

Add detailing lines on the frosting and the wrapper.

Repeat the previous steps for a second cupcake.
Now for the tarts! Start with a 'wiggly circle' shape.

Draw a similar shape inside the one you just drew.

Next, draw a cluster of strawberries in the center.

Finally, add detailing, such as dots on the strawberries and swirls in the frosting.

Repeat the first two steps for the tart for a second one. Then, draw a small rose surrounded by leaves.

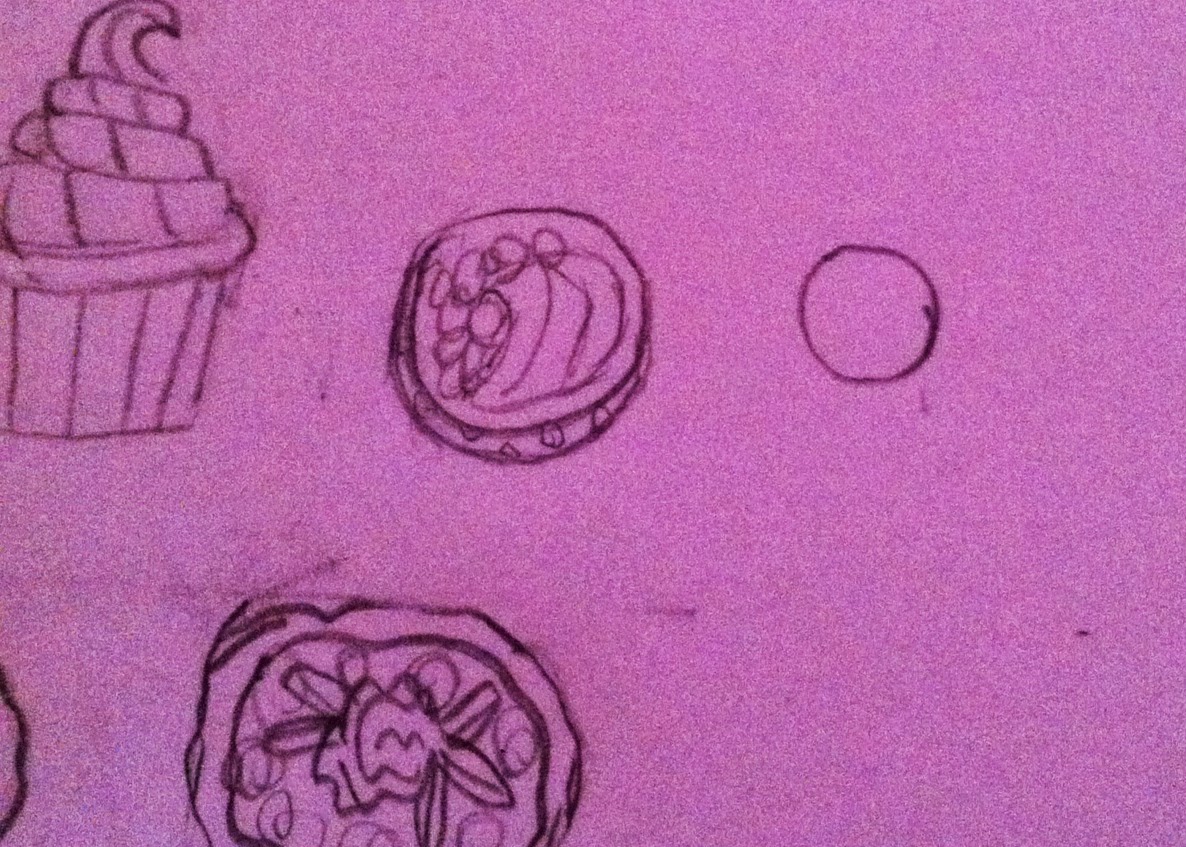
One more tart to go! Start by drawing a small circle. Add a curved line on the side for a 3-D effect.


You're done with the tarts! Now for the macaroons. Begin with drawing a tiny circle.
Draw a wavy line all around the circle you just drew.

Repeat for as many macaroons as you want. I made three.
On to the cake! Start by drawing a large cylinder shape.

Draw in detail lines on the bottom, and make a criss-cross pattern on the remainder.

Draw a curved line from top corner to top corner, and add a bow on top. Finish by drawing a rectangular slice of cake. (Sorry, I got lazy)

Now outline in Sharpie pen...

...color it in...

...cut out a rough outline...

...tape laminate...

...cut out...

...and you're done!

Thank you so much, Vera, for writing this tutorial and for your patience with me! I hope you enjoy trying this tutorial for yourselves.
Wow, it looks awesome!
ReplyDeleteThanks Claire! And thank you N for the oppratunity! A quick question; since submitting the tutorial, I have started a blog with my friend. Would it be too terribly much to ask if you could change the name to Vera from Valerie and Vera? Thanks!
ReplyDeleteNot at all! I made the correction, and added a link to your blog. Thanks again for submitting the post!
DeleteThanks N!
DeleteWow, you won 2 FDCs in a row from the Doll Wardrobe! Congrats!
ReplyDeleteThank you! It was completely unexpected, and I could not have done it without the support of all the amazing people who voted for my entries and read my blog. Thanks so much for your kind comment, and for stopping by!
Delete