Tuesday, February 26, 2013

Tutorial Tuesday: Making Doll Beds

Once you've made your doll, you need a place for it to sleep! This week's tutorial shows a very simple method of making beds. You can adapt it to make bunk beds, loft beds, trundle beds, or sleeping bags.


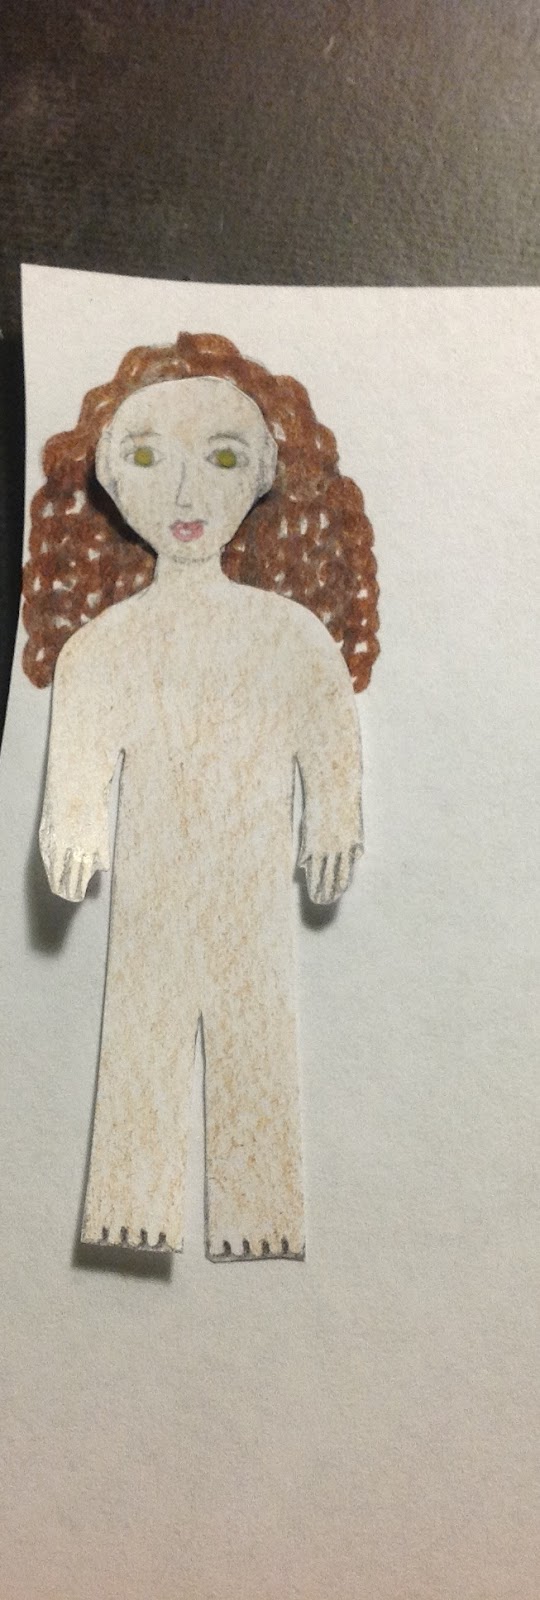
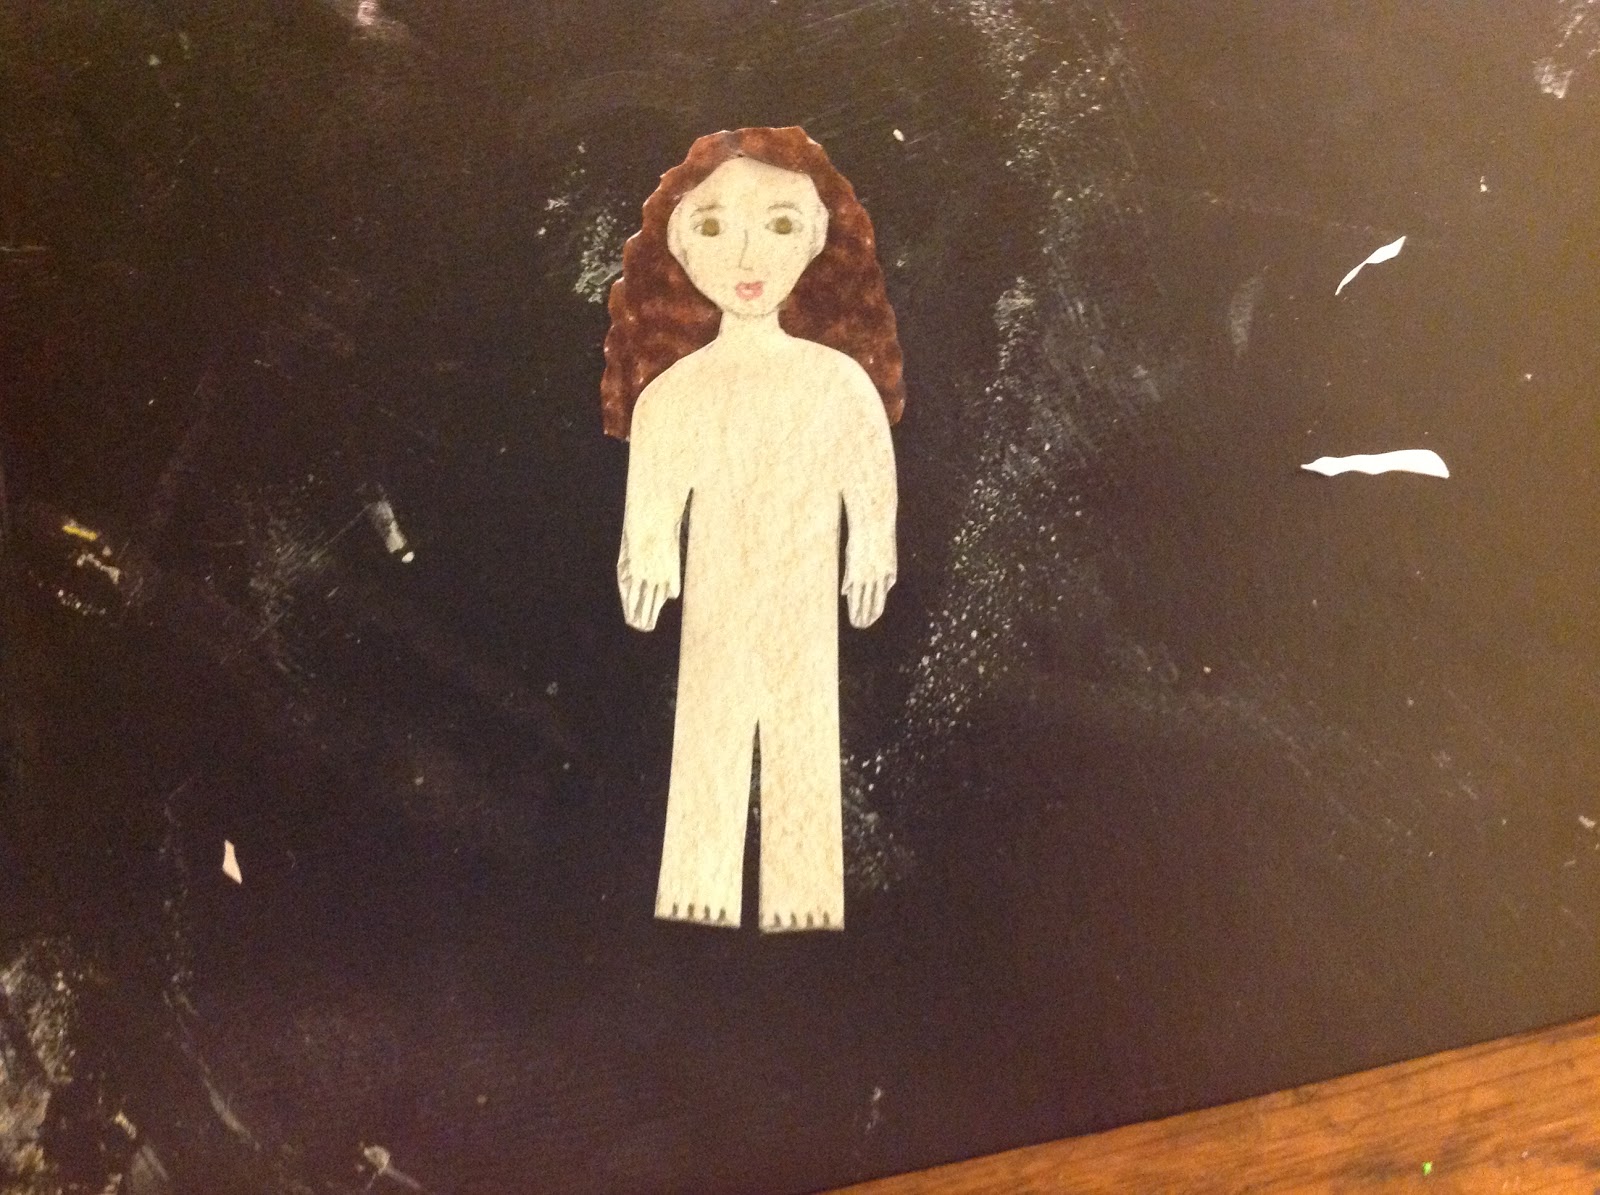
First you trace a rectangle around the doll that you want to make a bed for; in my case, it was Meredith (finally in another outfit!). This will be the mattress.


Next you draw a rectangle about the same width right next to the first. This will be the blanket. Make sure to make the second rectangle smaller so the blanket doesn't cover your doll's face!


Draw a pillow in the top of the rectangle. You can make it in whatever shape you want and even add more, it's all up to you.


Add detail to your pillow! Since I wanted the bedding to have an ice cream/sweets theme, I drew sprinkles on the big pillow and made the small one look like a doughnut. Be creative!


Cut out the two rectangles as one big shape - don't cut them out separately. Fold the smaller one over the larger one like a book. Trim them if necessary so that the bottoms and sides match up.


Next, decorate the blanket. Draw whatever designs you like on the outer side. You can match it to the pillows - I drew little ice creams and popsicles - or make the blanket's pattern contrast the pillows. It's your choice! 


Tape together the bottom and open side of the blanket and mattress. You should have a pocket to slide your doll into. 

Sweet dreams! 

What would you like to see next week?

Sunday, February 24, 2013

New Girl Needs Clothes

Today's photo comes in the form of a plea from the newest resident of Casa Paper Doll.


My problem with making clothes is that I can never come up with something on my own - I have to see a picture of it in front of me. Also, for some reason I have a problem with adapting a doll outfit from a human outfit. I'm not a fan of most of the clothing that the Blythe company sells, and most of the stuff on Etsy isn't really calling my name. The only reason Meredith has any clothing at all is because it goes against my principles to let a doll go around naked. 

Meredith has been letting me know in no uncertain terms that she's tired of this outfit. Please comment if you have any style or online shop suggestions so she doesn't have to be stuck in this outfit forever!

EDIT: Thanks for all your suggestions! I think next week I'll make a collage of pictures of Meredith in each of the outfits you suggest. Meredith and I are very grateful for your help!

Wednesday, February 20, 2013

February Giveaway Winner Announced!

The winner, as chosen by a random number generator, is Myagrocks! Please email me at the address in the sidebar.

Thanks to all of you who entered. I really appreciate your support and wish you good luck in the next giveaway, which hopefully will happen in March.

Tuesday, February 19, 2013

Tutorial Tuesday: Naming Dolls

This is more of a set of tips than an actual tutorial, but since a doll's name is an important part of its character, I felt that it deserved a post.

I feel that a doll's name should reflect its personality. Since we can't really talk to dolls to assess their personalities, we have to do that through looking at their faces. That's why I like my dolls to have sweet faces, because I want them to have sweet personalities.

When trying to name a doll, don't look at the doll you based it from, because likely your doll will not look exactly the same and you will end up with the wrong name. For instance, when I made Vivienne, I planned to name her Kaia. I chose that name because I thought it fit the doll I based Vivienne on, but when Vivienne was finished, I realized that the name didn't fit her at all. She didn't look like a Kaia to me. So I thought about what her personality might be like, and I came up with the name Vivienne. In my opinion it suits her perfectly, because I based it on the paper doll and not the plastic doll. On rare occasions you'll get lucky and the name that fit the plastic doll will fit the paper doll too, but in over eleven years of making paper dolls this has only happened once (with Keira).

After you decide your doll's personality, you can start looking for a name. You can look by category or nationality (such as "old-fashioned girl names" or "Indian girl names"); parenting websites are usually a great source of names. Another site that I like is babynamegenie.com, which will randomly select names for you.

Finally, don't feel pressured to come up with a name at once. It's a good idea to sleep on it, or to not think about it for a while. If it keeps coming back, it's probably the right one.

Have fun picking names!

Sunday, February 17, 2013

Photo Shoot Sunday: New Releases

Saige, Vivienne, and I went outside again for this week's photo shoot. We decided to feature two of the newly released outfits from American Girl, the Easy Breezy outfit and the Sweet Spring dress. The problem was that my dogs were outside with me, and they love to chew paper. It was a challenge to take pictures and keep curious dogs away!


I managed to get one good shot before the wind started blowing.


It was hard to get them to stay on the plant!


I like how Saige's hair looks windblown here.


And just for fun, they lounged on my dog's belly. He was lying on his back and I couldn't resist! Luckily, he didn't notice. (I don't think he would have eaten them - my other dog was the one who ate a paper doll back in November - but I was ready to grab them just in case!) 

What do you want to see next week?

Thursday, February 14, 2013

Valentine Releases from American Girl

What do you think of the new items from American Girl? I was honestly just expecting the sweet spring dress that American Girl showed on their Facebook page (I know, I'm a little naive), so it was a great surprise to see all the new stuff. In general, I really like the new items, not just because they look really creative and fun, but because of the challenge they offer for those of us who love paper dolls. I can't wait to get started on that bike! Here are some of my favorite new releases.

The pattern on the top is going to be tricky to recreate (plaids are notoriously hard), but I love the look. I also love that they included these shorts, which I am a big fan of.


I appreciate that American Girl kept the pink to a minimum. The cream and lace make it more sophisticated, while still maintaining its age-appropriateness.  This would look beautiful with Vivienne's dark hair.

Isn't this adorable? The cakes remind me of the ones at the American Girl bistro. 

I really love that they made a pet birthday set. It's a really cute concept, and I think the pets of Casa Paper Doll will like it. 


I was so excited to see this on the American Girl website. This is going to be so much fun to make! I think this bike and the helmet from Saige's hat set will go together nicely.

And just when I thought the bike couldn't get better, I saw the pet trailer. I'm not sure how I'll make this, but you can bet that it will happen!


I'm not actually going to make this, because I don't know if you can keep calves in a horse stable, and the dress isn't really calling my name, but this is such an adorable and surprising set that I had to include it here. Not having read Caroline's books, I was not expecting a calf at all, but Garnet is just so sweet! It  looks like something from the Little House on the Prairie series; in fact, when I first saw Garnet I thought of Star and Bright, the two red calves in Farmer Boy. Caroline's dress surprised me too, but I'm glad that she finally has an outfit in her collection that isn't especially fancy. 

To add to this doll excitement, tomorrow the Pippaloo shop on Etsy releases its new food collection! I can't wait until the weekend so I can get started on making all this great doll stuff.

Wednesday, February 13, 2013

February Giveaway!

I'm officially running another giveaway!

The prize: A custom made doll based on a doll from any company except Monster High and Ellowyne Wilde and a meet outfit for the doll, plus the winner's choice of the following:
- a pet
- a second outfit
- an accessory set (such as Saige's accessories from American Girl, but the accessory set doesn't specifically have to be called so-and-so's accessories)
- or a combination of two of the above options

How to enter: Comment on this site and tell me what you want to see more of on this site. Tell me what you like and don't like, and what you want to change. You get an extra entry for blogging about this and giving me the link.

Giveaway ends on February 20. Good luck!

Tuesday, February 12, 2013

Tutorial Tuesday: Making Bangs

Since we finished the paper doll tutorial series last week, I thought we'd start a new one on doll hairstyles. This week I'll show you how I make bangs.


What you need:
-Your doll (Holly is my model this week)
-Scissors
-Tape
-Pencil
-Eraser
-Markers in the color you want for the hair

Follow the steps from last week's tutorial on hair, except draw in how you want the bangs to look before you color it in.


Next, test color combinations on the side to see how you want the hair to look. I thought that only using red looked too plain, so I added yellow and orange to add a little more dimension.


I started with yellow. I didn't color the hair solid yellow because I wanted the colors to blend a little more.


Next I added orange.


Then I finished it off with the red.


Then I let it dry for a minute or two, and then cut it out. I tried to cut it out with bumpy edges so the hair would look curly.

Now for the bangs. I've found that the best tool for this is an X-acto blade or pocket knife. Scissors won't work here because you want to cut into the hair without cutting through the edge.


Use the blade to cut along the lines you drew for the bangs. I pulled up the bangs in the next picture so you could get an idea of how it should be.


Next, try it on your doll to see how to adjust it. I thought the bangs were too square and her hair was too wild, so I used the blade to trim a tiny piece off the bangs and scissors to trim the hair.

Here's Holly before the adjustments...


...and after. I trimmed the hair a little more after I took this picture, but I couldn't get a good image so I didn't include it.


So that's how I make bangs. You can use this basic technique for any style of bangs - just look at Saige, Cora, and Keira. The major thing I want to emphasize is the use of a pocket or craft knife, because it really makes a difference in how they turn out.

I hope you liked this tutorial! What hairstyle or other tutorial do you want to see next week?

Monday, February 11, 2013

Potential Giveaway

Since the last giveaway didn't go as planned, I'm thinking about trying this again. Would you be interested in entering?

This time all you would have to do to enter is leave a comment on the official giveaway post. And you get to decide the prize! 

Would you rather win a doll and meet outfit (winner chooses how they look) with:
- an extra outfit
- a pet
- a small accessory set (such as Saige's accessories from American Girl)
- or any two of the above?

Also, what doll company would you want the items based from? I'm willing to make anything except Ellowyne and Monster High items, simply because they're a little too complicated for me to confidently do well.

Tell me your opinion in the comments, and I may have a giveaway!

Sunday, February 10, 2013

Outdoor Photo Shoot

On Friday the dolls and I went outside to take the photos for the "Dolls" page in the bar above. The weather was pretty nice, so I decided to take some photos of the dolls with the plants and trees.


Here's Saige and Rembrandt against a tree. The blue dress pops more against the neutral bark.


Another photo of Saige, this time with some pansies. The deep yellow looks so pretty with her dress and hair. 


Kenna and Cooper lay down to soak up some sun. Please ignore the awkward leggings. 


Keira and Coconut in a tree. This was a really annoying photo because the wind would start to blow every time I was ready to get a photo! If you ever try outdoor photo shoots with paper dolls, tape them to the background so they don't get lost.


Vivienne in the grass. Funny how grass always looks so soft until you pet it, and then it feels spiky!


Cora in the pansies. She and Vivienne should have traded outfits for this shot, but I like it anyway.


Meet Holly Renee, a Little Miss Matched Uptown girl. I made her last December, but this is the first time she's been in a photo shoot. 


A group photograph. I tried to show the heart shape of the rock in this one because I thought it was really cool.


A closeup of the group photo. 

What do you think? Should I try more outdoor photo shoots in the future?

Tuesday, February 5, 2013

Tutorial Tuesday: Making Paper Dolls Part IV

At last, we're almost done with the paper doll tutorial! In the last part of this tutorial, I'll show you how to make hair for your doll. 

1: Draw the shape of the hair that you want your doll to have and color it in.


2: Cut it out and trim it to size.


3: Touch it up until you are satisfied. I decided to color in the little white spots to make the hair look more natural. 


4: Tape it to the back of your doll's head and you're done!

Here she is in her meet outfit:


Meet Keira Fletcher!

The next Tutorial Tuesday will be about making different doll hairstyles. 

Sunday, February 3, 2013

Photo Shoot Sunday: Guest Post from Myagrocks

Thanks to Myagrocks for these photos! If you have any photos of your dolls that you want to be displayed here, please email me at the address in the sidebar.


This is Saige standing beside a homemade cardboard background.


This is Chrissa. I like how the pink flowers match her dress.


This is Kanani. She has a sweet smile.


And here are all three dolls together. Thanks again to myagrocks for sending these photos!

Saturday, February 2, 2013

Contest Ended

Since we were two followers short, I had to call off the contest. I'm sorry that this happened, so as a gesture of appreciation to those who followed in time, myagrocks, Maria, and Nina will get an extra entry in the next contest.

I will run a contest like this in the future, so please continue to read and follow. Thank you all for your support.
Related Posts Plugin for WordPress, Blogger...